Saving $10 / month by using a Raspberry Pi as a remote server
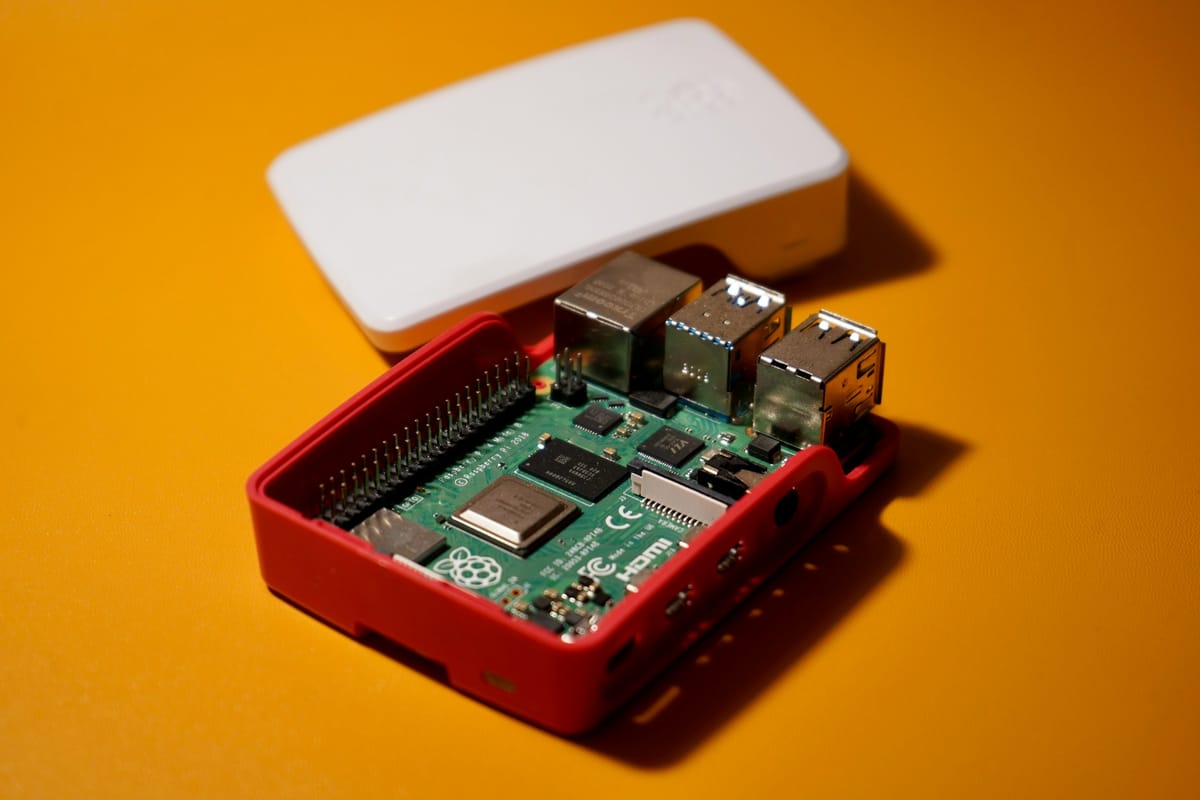
Cleaning the dust off my Raspberry Pi!

I used to pay $10 monthly for a server in Digital Ocean for development purposes. On the moment that I am writing this, this pays for a 2 GB of RAM + a Shared CPU (1 virtual CPU). I really enjoyed the service and, if you have the money, I even recommend it for an easy setup.
I also had a Raspberry Pi in a storage space somewhere.
Raspberry Pi initial setup
I’ve tried to use a Raspberry Pi with a 128 GB SD Card and the very first thing that failed was trying to use NOOBS. It seems that it doesn’t work for big SD Cards as I was getting 0 response from the green activity LED in the Raspberry Pi after plugin in the power supply. In the end I had to flash Raspbian myself using Etcher.
The SSH server in the Pi is disabled by default, so for the purpose here, I had to turn it on manually. To do that:
$ sudo raspi-config
That’s not all there is to it though, as it won’t work in the next boot. For that, there was a need to create an empty file named “ssh” in /boot.
Service goodness by remote.it
I used a service called remote.it which is free for personal use. It creates a proxy that allows you to connect to various services from anywhere into your PI such as SSH and VNC for example. I promptly created a free account on the website.
Installing it was very straightforward by typing
$ sudo apt install connectd
And then
$ sudo connectd_installer
which would then present on-screen instructions for login into the previously created account. In remote.it, SSH comes in the form of an application. By navigating through the CLI menu to add an application, there is already a default setting for SSH so I selected that.
In remote.it’s device dashboard (on the website interface), there were connection details for connecting to your raspberry pi via SSH. By clicking it, a popup screen informed the SSH proxy details to finally connect to the Pi from anywhere!
The possibilities are endless but for my purposes, I installed Node + NGINX + PM2 and enabled the Web Server application in remote.it in order to have a test server for my API projects. More on that in another blog post!